Sliabh Bhuí Looped Walks
About
Enjoy a walk in the countryside at Askamore loop. A 6km walk through laneways and forestry roads taking just 1 hour and 30mins.
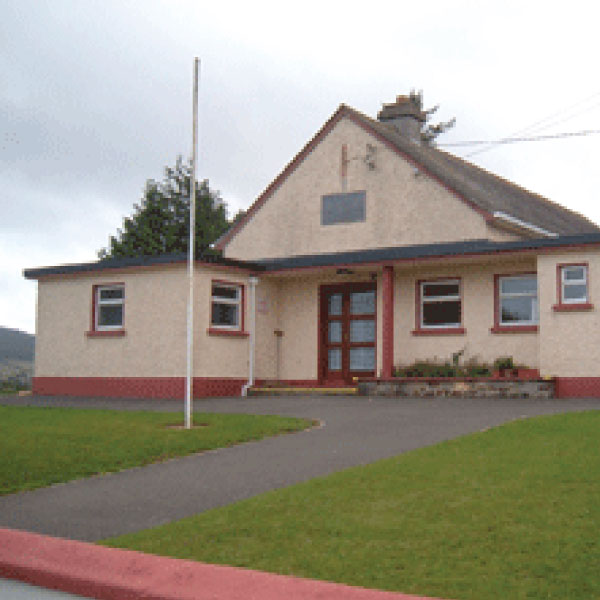
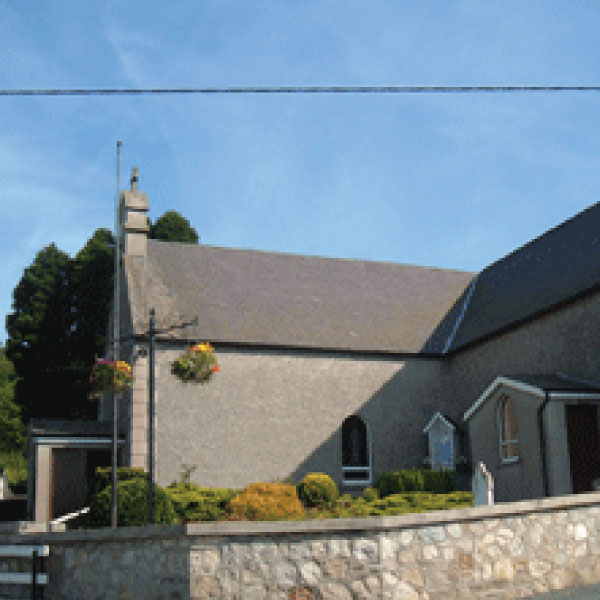
A-B: From the trailhead, cross the road and follow the green (and blue and purple) arrows onto the sandy lane between the church and Doran’s Shop. The blue and purple arrows are for longer loops. Continue along the sandy lane for more than 1km to a junction with a forestry road on your left. The loop proper begins here- you will return to this point from the opposite direction later, for now turn left.
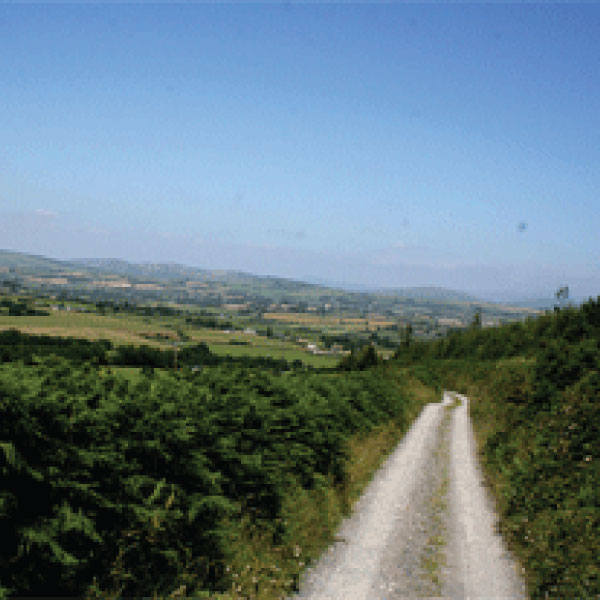
B-C: Continue to follow the green (and blue and purple) arrows along the forestry road for 3km – and enjoy some fine views of the surrounding countryside- before rejoining the sandy lane at what is known locally as ‘the hairpin’. The blue and purple loops veers left here but you veer right.
C-D: After 300m, you pass a crossroads of forestry roads where the blue and purple loops rejoin from your left- another 200m takes you to the junction at B above from where you began the loop. This time proceed straight ahead and enjoy the 1km back to the trailhead.
Ballybeg Loop
A-B
From the trailhead cross the road and follow the blue (and green and purple) arrows onto the sandy lane between the church and Doran’s Shop. The green arrows are for the shorter Askamore loop. The purple arrows are for the longer Slieveboy loop. Continue along the sandy lane for more than 1km to a junction with a forestry road on your left. The loop proper begins here- you will return to this point from the opposite direction later, for now, turn left.
B-C
Continue to follow the blue (and green and purple) arrows along the forestry road for 3km- and enjoy some fine views of the surrounding countryside – before rejoining the sandy lane at what is known locally as ‘the hairpin’. The green loop veers right here – but you veer left, following the blue (and purple) arrows.
C-D
Follow the surfaced roadway downhill for 200m to a sharp left bend – and veer right onto a narrow forestry track. Continue to follow this track as it ascends over the next 500m to reach a 3-way junction where the purple loop turns left – but you continue straight ahead. After 300m you pass a junction where the purple loop rejoins from your left – continue straight and after 300m you exit the forestry and rejoin the sandy lane you started out on. Turn left and downhill.
D-A
After only 200m you reach the junction at B above from where you began the loop. This time proceed straight ahead and enjoy the 1km back to the trailhead.
Slieveboy Loop
A-B
From the trailhead cross the road and follow the purple (and green and blue) arrows onto the sandy lane between the church and Doran’s Shop. The blue and green arrows are for shorter loops. Continue along the sandy lane for more than 1km to a junction with a forestry road on your left. The loop proper begins here- you will return to this point from the opposite direction later, for now, turn left.
B-C
Continue to follow the purple (and blue and green) arrows along the forestry road for 3km- and enjoy some fine views of the surrounding countryside – before rejoining the sandy lane at what is known locally as ‘the hairpin’. The green loop veers right here – but you veer left, following the purple (and blue) arrows.
C-D
Follow the surfaced roadway downhill for 200m to a sharp left bend – and veer right onto a narrow forestry track. Continue to follow this track as it ascends over the next 500m to reach a 3-way junction where the blue loop goes straight – but you turn left. Descend past a sharp left bend and sharp right bend before a straight stretch of almost 1.5km takes you to a 3-way junction where you turn sharp right. Over the next 1km you ascend to reach the highest point of the loop (360m) at a 3-way junction on the shoulder of Slieveboy. Shortly afterwards you rejoin the blue loop and descend for 300m to exit the forestry and rejoin the sandy lane you started out on. Turn left and downhill.
D-A
After only 200m you reach the junction at B above from where you began the loop. This time proceed straight ahead and enjoy the 1km back to the trailhead.
Find all the information and maps here.
Details
Features
Booking
|
Similar Listing
Seán Ógs Traditional Irish Bar
Kilmuckridge|Kilmuckridge Gorey|Gorey Ireland|Ireland
Wells For Wellness
Wells House and Gardens|Wells House and Gardens

Tatiane Beautician Gorey
Gorey Ireland|Ireland
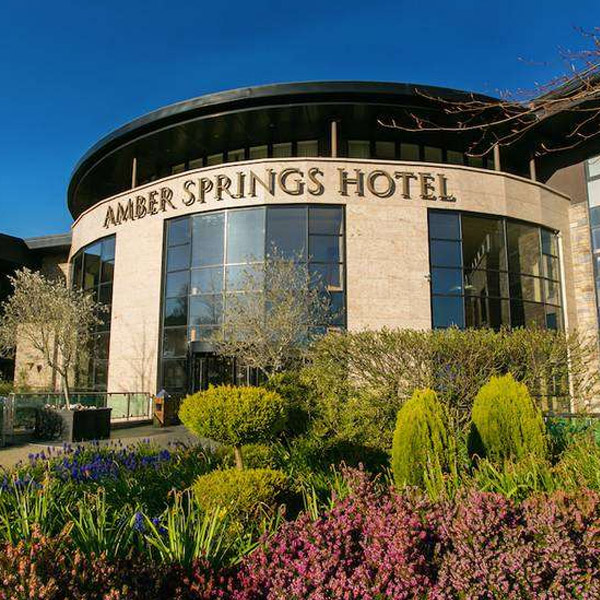
Amber Springs Hotel
Wexford Road|Wexford Road Gorey|Gorey Ireland|Ireland